Quick Start Grow Guide
Your Success Begins Here
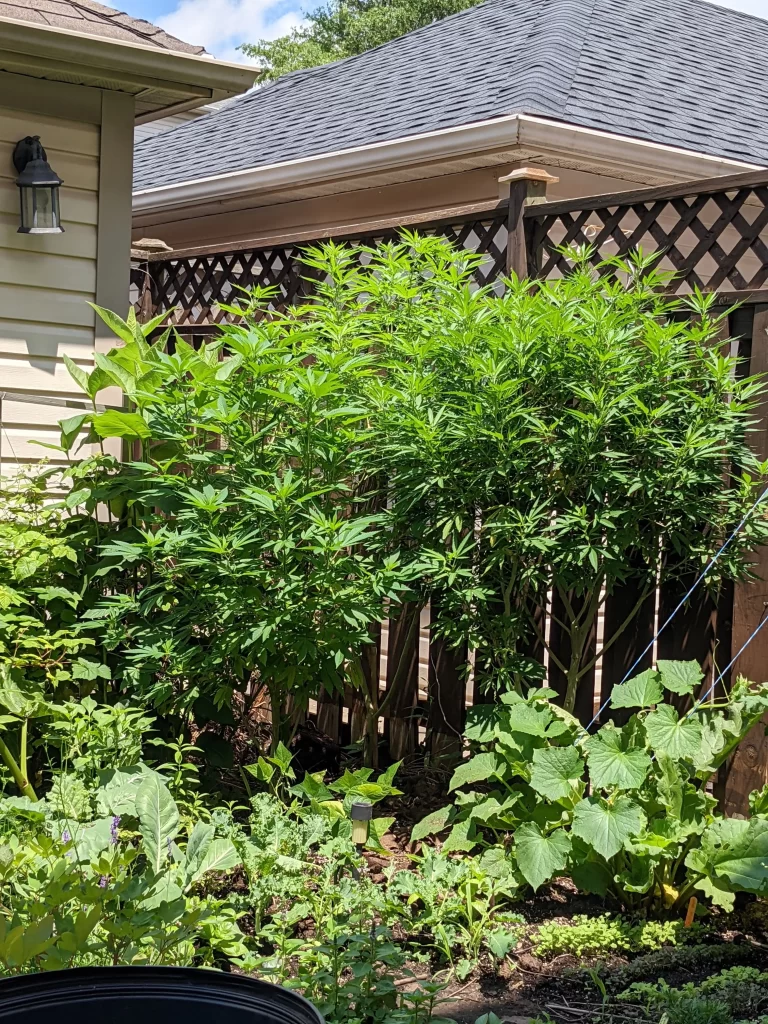
I believe the best cultivation starts with a proven plant and a simple plan. Because your Homegrown Clones arrive fully rooted and pre-hardened into 3-inch pots, you are skipping the most fragile and high-risk stages of growing. This guide, written based on 20 years of hands-on experience, provides the essential steps to safely transition your stable clone into a thriving outdoor plant.
Following these simple steps immediately upon arrival will ensure a smooth transition and rapid growth in your garden.
I. Arrival Checklist: Immediate Steps
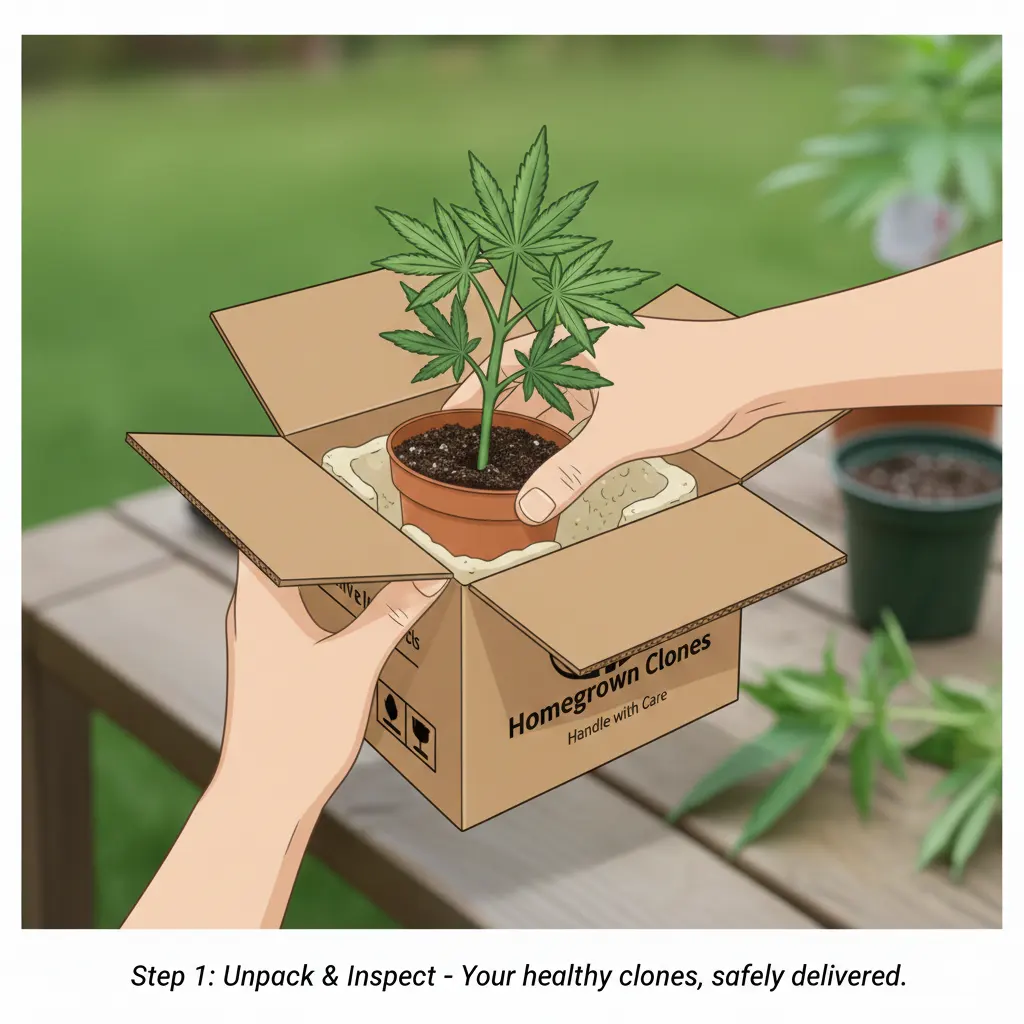
1. Unpack & Inspect
- Open the Box Immediately: Carefully open your box and gently slide the 3″ pots out of the packaging.
- Inspect Health: Check the plants for firmness and color. A small amount of settling or loose medium is normal.
2. Check Moisture & Hydrate
- Feel the Weight: Lift each 3″ pot. If the soil feels heavy, do nothing. If the pot feels surprisingly light, it is time for a drink.
- Initial Watering: If needed, gently water around the base of the plant until a small amount of runoff appears. Use clean, pH-balanced water (pH 6.0-6.5). Do not use nutrients yet.
3. Set the Environment
- Crucial Rule: Your clone is stable, but needs re-acclimation after shipment.
- Placement: For the first day, place the pot in a warm, sheltered location that receives bright, indirect light only (e.g., a covered porch or sheltered area).
- Nighttime Temp: Do not place the plant outdoors permanently until the nighttime low temperature is consistently above 10°C.
II. Re-Acclimation (The First 72 Hours)
The goal is to quickly re-introduce your pre-hardened plant to the intensity of direct sunlight after its dark journey. This process takes just 3 days.
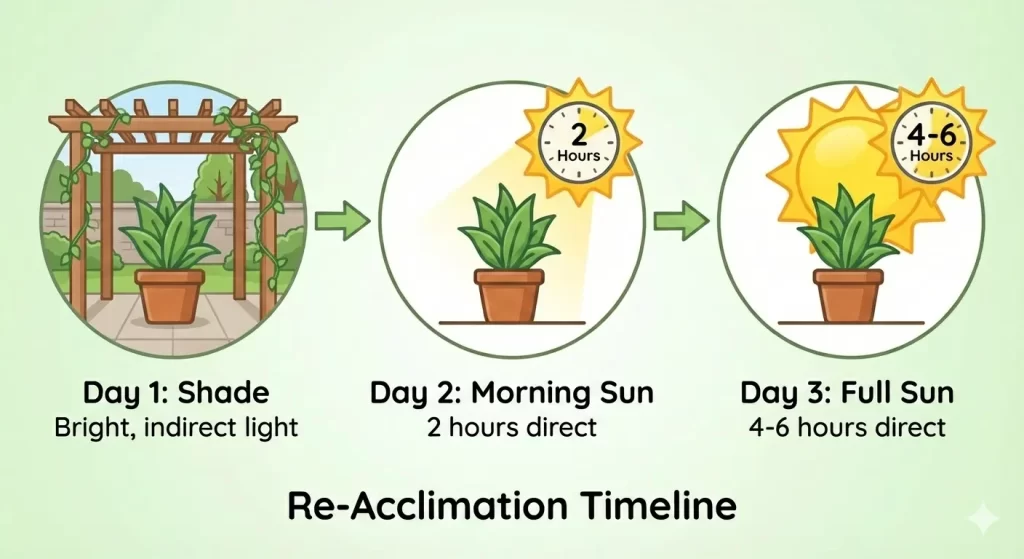
1. Sun Exposure Schedule (Days 1–3)
- Day 1 (Arrival): Bright, indirect light only (sheltered area).
- Day 2: Introduce the plant to 2 hours of direct morning sunlight (before 11 AM). Return it to the sheltered spot afterward.
- Day 3: Increase direct sunlight exposure to 4–6 hours per day.
- Day 4: The plant is now ready for its final location.
2. Watering & Feeding
- Continue the Lift Test: Only water when the pot feels light.
- Nutrient Status: The rich, organic medium in your 3″ pot (containing a high percentage of worm castings) provides ample nutrition. No additional feeding is required until after you transplant the clone into a larger pot or its final home in the ground.
III. Transplanting Success
Transplanting into the ground or its final container should only happen once the clone is fully re-acclimated to direct sun and the nighttime temperatures are stable. The clone should remain in the 3-inch pot for a maximum of 7-10 days before being moved to a larger home to ensure optimal growth.
1. Preparing the Final Spot
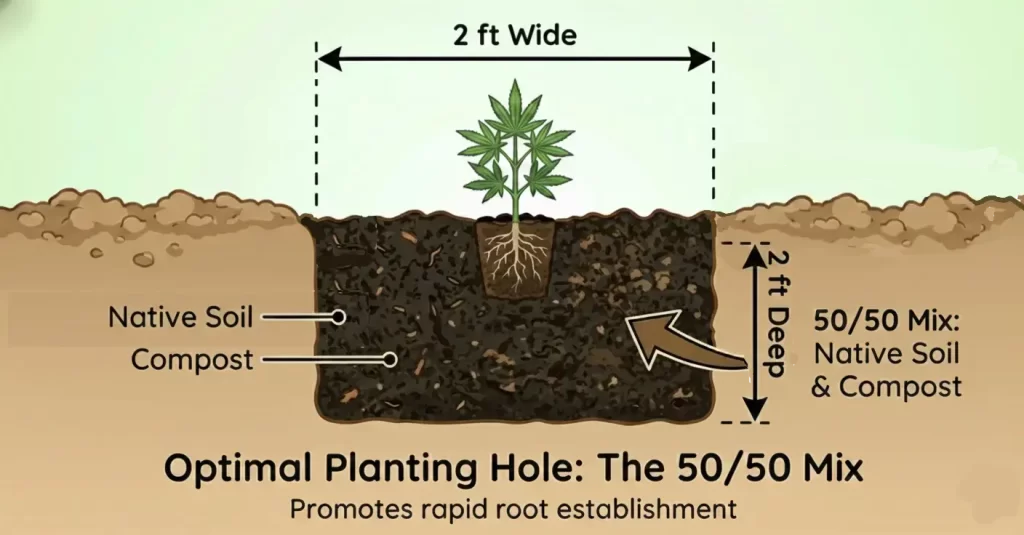
- Optimal Method (In-Ground): Planting directly into the ground is highly recommended for maximum vigour. If your garden is not already prepared, dig a large planting hole (e.g., 2ft x 2ft x 2ft) and thoroughly amend the native soil.
- Amendment Ratio: Mix the native soil you removed with high-quality organic compost. A reliable standard is a 50% native soil to 50% compost ratio. The goal is a rich, well-draining, and nutrient-dense medium for the roots to immediately establish themselves.
- Container Option: If using a container, select a large size (10+ gallons) for a full season of growth.
- Location: Choose a spot that receives 6–8+ hours of direct sunlight per day. Dig the final hole deep enough for the 3″ root ball.
2. The Transplant
- Handling: Water the 3″ pot a few hours before transplanting. Invert the pot and gently tap the bottom until the root ball slides out.
- Planting: Place the root ball directly into the prepared hole. Backfill the edges and do not bury the stem deeper than it was in the 3″ pot.
- Post-Transplant: Water immediately and deeply to settle the new medium and encourage root expansion.
IV. Ongoing Care Fundamentals
Focus on these three fundamentals for a happy, successful outdoor season.
1. Water and pH
- Water deeply but less frequently than indoor plants. Allow the soil in the pot or near the base of the plant to dry out between waterings. Plants in the ground only need manual watering during significant dry spells. A good rainfall once every 5-12 days is often sufficient.
- Strive to keep water between pH 6.0 and 7.0. Collected rainwater generally falls within this range and is perfect for watering your plants.
2. Nutrients & Protection
- Transplanting Reminder: Do not let the plant stay in the 3″ pot past the 1.5 week mark, even if you are waiting for warmer weather. Transplant to a 1-gallon pot temporarily if necessary to keep the roots healthy before moving it to its final outdoor home.
- Nutrient Schedule: For simple and effective feeding, I recommend top-dressing with high-quality organic amendments. Apply worm castings or an all-purpose organic fertilizer (like Gaia Green All Purpose) according to the product directions every 3–4 weeks during the long vegetative stage.
- Pest Check: Inspect the underside of leaves weekly for pests.
- Support: Use stakes or cages to provide structural support for high winds and heavy buds later in the season.
3. Final Step: Harvest
- Outdoor plants naturally begin the flowering (budding) phase when the days shorten in late summer (usually August/September). Continue with flowering nutrients until harvest.
- Important Note on Nutrients: If you are using a synthetic (chemical) nutrient solution, you must implement a final water-only flushing period (typically 7–14 days) before harvest to improve the final quality and flavour of your product.
- For a complete step-by-step guide on timing, drying, and curing your harvest, please consult our full Harvest Guide here.
V. Here To Help
I believe every grower deserves success. If you have any questions that weren’t answered in this guide, or if you run into unexpected challenges, please don’t hesitate to reach out. Happy growing!